You do not need to use it, and even if you do, it is rather infrequently, since it has limited options. If you want to change some Network settings, you have to perform a settings search (Windows Key + W) and just type Network. The results displayed are relevant for every case – so we have to rely on search and not on that Network entry, as much as we’d like to.
Remove Network from Explorer Navigation Pane
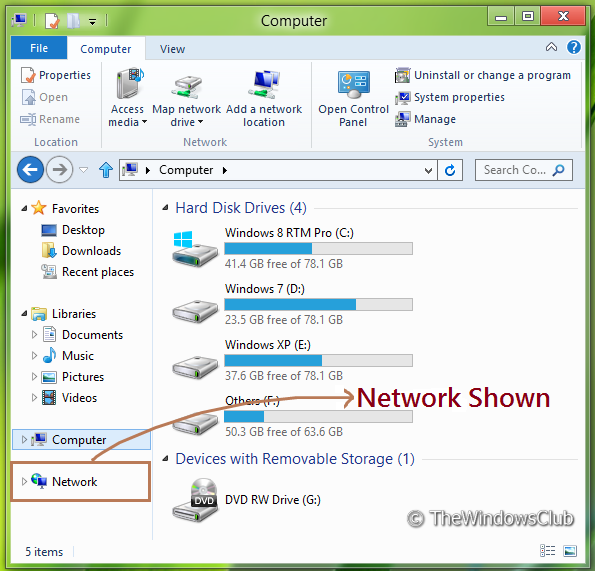
In this article, I’m going to tell you how to remove this option ‘Network’ from the navigation pane of Explorer.
Press Windows Key + R combination on keyboard and type Regedt32.exe in Run dialog box. Press OK. 2. Navigate to following key:
In the left pane, take ownership of key ShellFolder. This article will tell you how to take full control or ownership of registry keys.
Now in the right pane, double-click on Attributes, and look out for Value data section. It must have value b0040064 by default, which displays Network in explorer pane.
Replace that value with b0940064 and then press OK.
These steps are applicable to 32-bit users only. If you’re using 64-bit Windows then perform steps 3, 4, 5 for this location:
Reboot the machine and you’ll see that Network has been removed from the explorer pane.
If you want to display the Network link back, in the Windows 10 Explorer pane, just restore the previous value in step 5. Do remember to create a system restore first!