Make a flat Image look 3D in Illustrator
Being able to create 3D objects in Illustrator can be quite interesting as boring artwork can be made to look appealing. Below are the steps to make the flat images look 3D in Illustrator. The steps involved are:
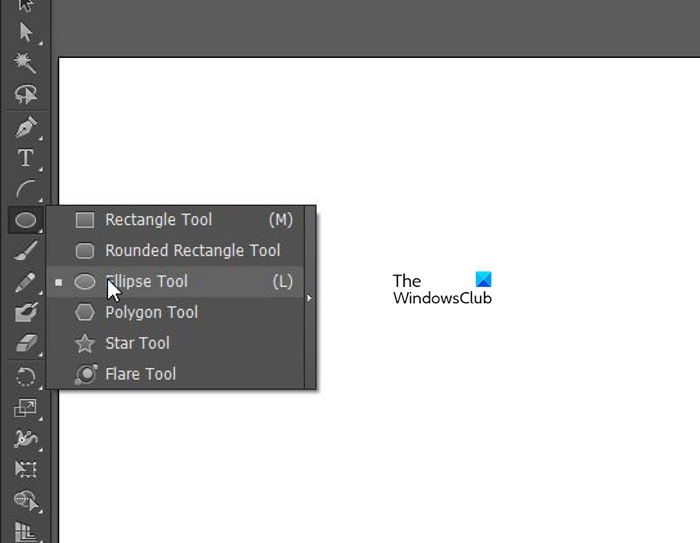
1] Select the Ellipse Tool
Open the image in Illustrator.
Select the Ellipse tool from the panel on the left.
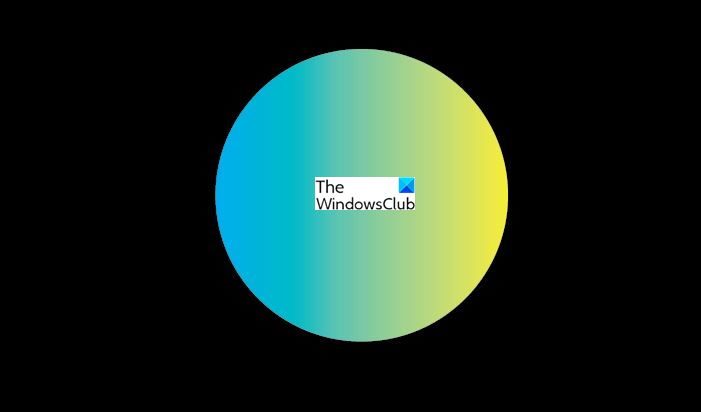
2] Give the Ellipse a Gradient
Hold Shift + Left click and drag to make a small circle, give the circle a gradient of your choice. The circle is enlarged to make it more visible, but the actual circle is much smaller.
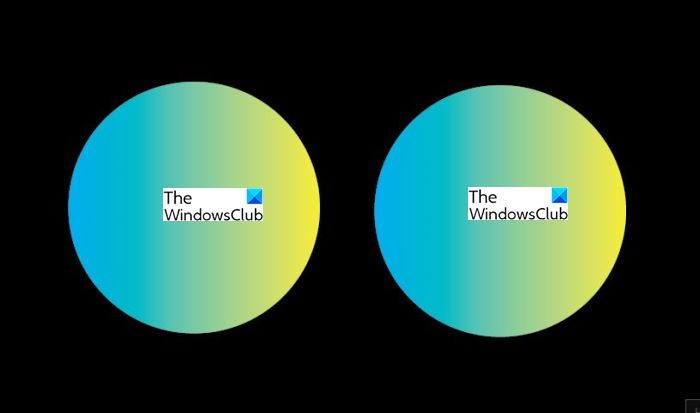
3] Blend Ellipse Circles
Hold Alt + Left mouse and drag the circle to duplicate it.
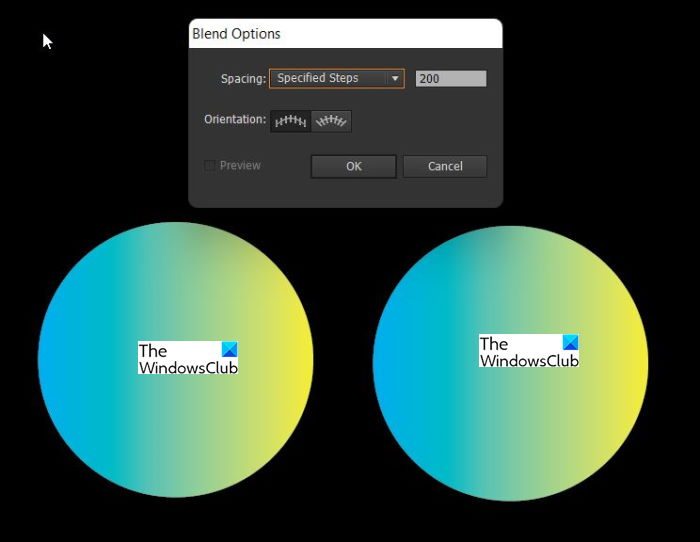
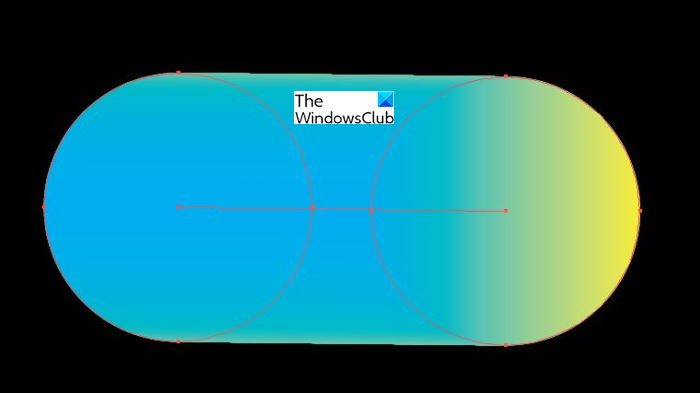
Click one circle and double-click the Blend tool to bring up Blend Options, or go to Object, Blend, then Blend options. Choose Specific Steps and put 200 then press ok.
Click one circle then click the next and you should see them joined.
4] Add to Drawing
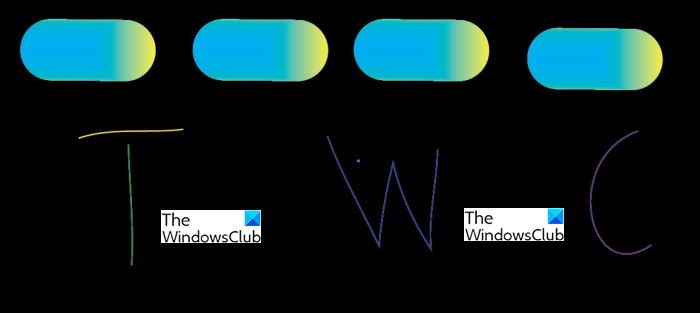
Use the Pencil tool and make drawings of your choice. If you choose one continuous drawing or word you will need one of the blended objects. If you choose an object or word with multiple parts, then you can Alt + Left click and duplicate the blended object for each piece of drawing that you have. In this case, there are four pieces so you would duplicate the blended object four times. Here I have used four different colors to show the four different parts that make up the object that will be made in 3D. The four parts mean that there will be four blended circles to cover them, one for each part.
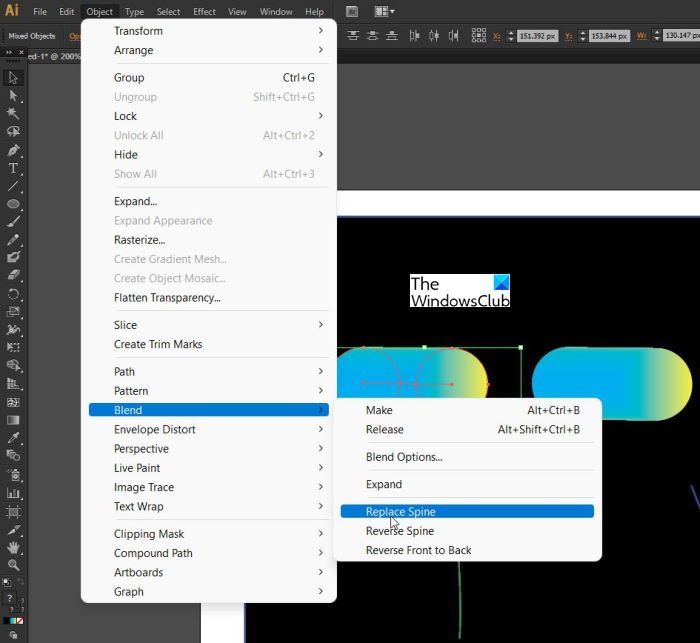
Select one of the strokes and hold Shift while you click on the color blended object, this should select both. Go to Object then Blend then Replace Spine. Repeat steps for all four pieces.
This is the finished 3D object. Your object may look different depending on how neatly you drew with the pencil. This 3D can also be done on objects made with the ellipse tool. Read: How to make a Cupcake in Adobe Illustrator
Are 3D objects important?
3D objects can add interest to your artwork and make it stand out. There are so many flat 2D images available so 3D objects will make your artwork more appealing.
Is it easy to create 3D objects?
There are many ways to create 3D objects, however, the one explained in this article is quite simple, anyone can follow the instructions and create it. This method of making a 2D object 3D is simply blending circles and using them to make a covering for the 2D object. Read: How to convert Image to Vector in Illustrator.
How do you make a flat object look 3D in Illustrator?
There are many ways to make flat objects 3Din Illustrator, but this method is the easiest. Take two circles, give them a gradient and then blend them. The blended circles are then used to cover the spine of the flat object. The gradient color gives the object a 3D look.
How do you make a 2D image 3D in Illustrator?
Making a 2D image 3D can be done in many ways, but using blended circles is by far the easiest way. Adding the gradient colors to the blended circles gives them a more interesting look as well. The blended circle with the gradient looks like a 3D ball and they are then blended to form a long rope-like structure, and this is added to the 2D object to make it look 3D.