Remove individual components of NVIDIA driver
The advantage of eliminating the non-essential components is to get rid of some of the background processes. It will also ensure faster boot up. Since we are going to remove some extra components, and its a third party software, make sure to create a restore point before going ahead. We have two tools that can be used to remove all the extra settings not required on your computer. First is NVIDIA Driver Slimming Utility, and the second is NVCleanstall. You can use any of them.
NVCleanstall – Clean installer for NVIDIA drivers
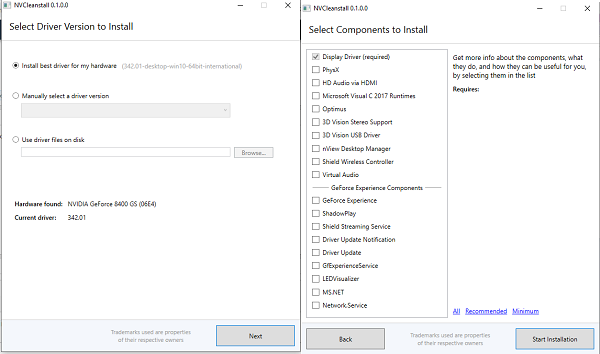
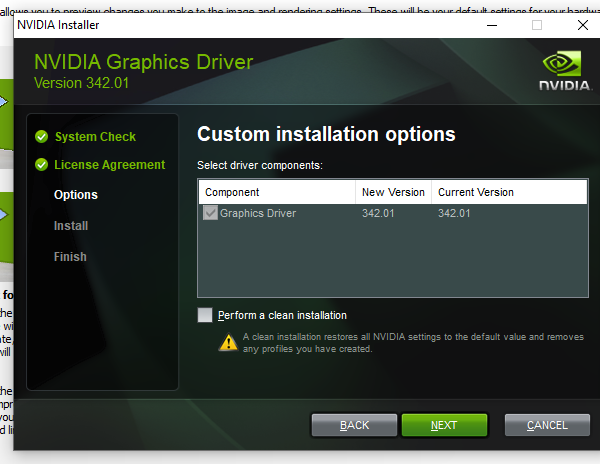
Download, and run the program. It will automatically detect the NVIDIA driver on your computer. If it doesn’t, you can manually select from the drop down. Click next, and it will list all the components that are usually available. Since the idea is to reduce extra drivers, it only recommends you to install; In our case, it is “Display Driver.” Click next, and it will install the latest version of the NVIDIA driver, and install it on your computer. However, you will notice that it will only install Display Driver. You can confirm it by switching to the Custom Install option.
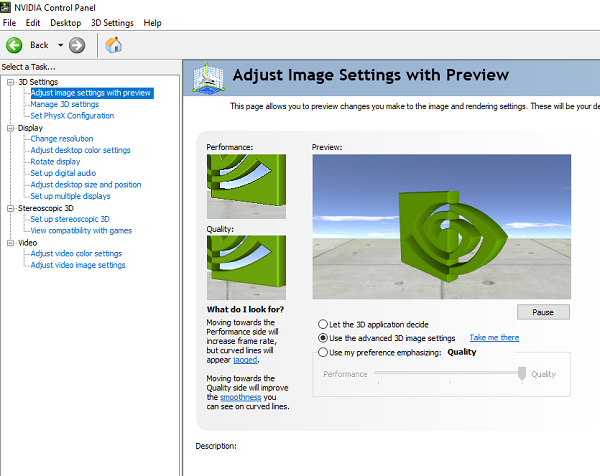
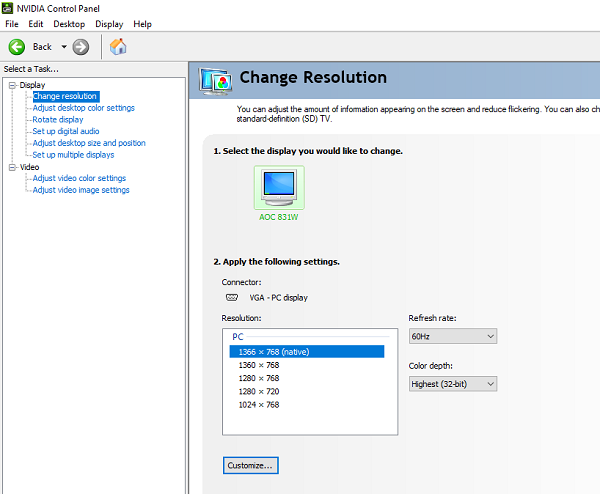
Once the installation is complete, reboot your computer, and launch the NVIDIA panel, and everything else should be removed. Here is how it looks like after the extra components were removed.
You can download it from here.
NVIDIA Driver Slimming Utility
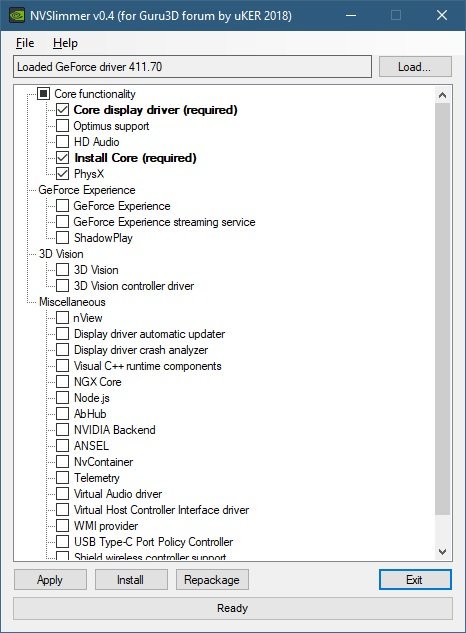
It also works similarly. Download, and extract the files. Then run the “NVSlimmer” executable. It will ask you to load the driver. The application will decompress the driver and offer you options where you choose what to keep, and what you can get rid.
We suggest keeping the core functionality features of the NVIDIA driver, or you can go by the default selection. Make sure to reboot your computer once everything is complete. You can download it from here. Let us know how these tools worked for you!
